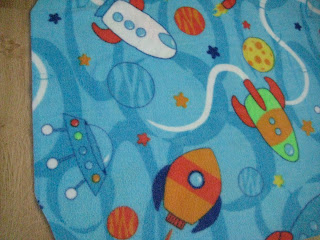
Now I know that you are all thinking that I can simply buy this at my local walmart, but the problem is, houdini Chaos can get out of almost anything, They don't make a size to fit him, and I need to be able to keep his boots on, hence my need to make him one.
So lets start with the tutorial. If anyone wants the actual pattern, please let me know and I will email you the pdf.
Step 1:
Measure your child, you want to make this for their size, leaving room for winter gear and growing. Take your length measurements to your material. You will need about 1 meter of fleece (or your material of choice), and a zipper, the length of your choice. Fold your material in half and measure the length and width on the material. Cut a rectangle from those measurements.
Step 2:
Cut a rounded bottom, and a quarter circle (?) from the top sides for the arm holes. (See picture below)
Step 3:
Turn material right sides together and sew a 1/2" seam from armpit all round the bottom to the other armpit.
Step 4:
Measure your neck opening, cut a half circle from the top middle on the front side of the material (only 1 side). From the middle of that opening, cut a straight linedown the middle to fit your zipper.
Step 5:
Sew a 1/2" seam across the shoulders. stopping at the neck opening.
Step 6:
Cut your sleeve material out, to fit the armhole opening, again, see picture below, and I apologize that it's not so accurate on my part, but I have only ever done this for myself and I am trying. So if any of the instructions are unclear, please let me know.
Step 7:
Sew sleeves on to arm hole, with right sides facing in. Sew the seam down the sleeve, again with a 1/2" seam. Hem the sleeve. Repeat with the other side.
Step 8:
Sew zipper in. Not to many instructions for this, as I have only done this once before, but it seems pretty straight forward.
Step 9:
Hem around the neck, with a 1/2" turnover. You will notice that I like to use a 1/2" seam more so than a 1/4" seam, I have found that with my kids, that extra 1/4" prevents the seams from tearing at all and their little fingers going through to make the hole bigger.
Step 10:
Now heres where it gets a little complicated for me as I am not so good with the button hole part, so I will do my best. Measure where the bottom buckle will come through sew a 2-3 inch button hole seam on both front and back of the car bag, not together, separately. Cut a slit through the middle. The bag should fit nicely in the car seat and you have the choice to leave it in the car seat or take your child out with it.
I will show you the next one when I have it made. Hope this works for you all and I would love to see what you have made too.
This is how the kids car blankets turned out, they wanted to go for a drive just to use them. They LOVE them and maybe I won't have to listen to "He's touching me, She won't share the blanket with me. MOOOOOOOOMMMMMM!!!!!!!"
Whatever makes them happy!


No comments:
Post a Comment